Import certificate into existing jks file for one way ssl communication
Use case described:
Step1:
Before adding any keys to existing jks file, we must need to back-up the existing jks file

Step2:
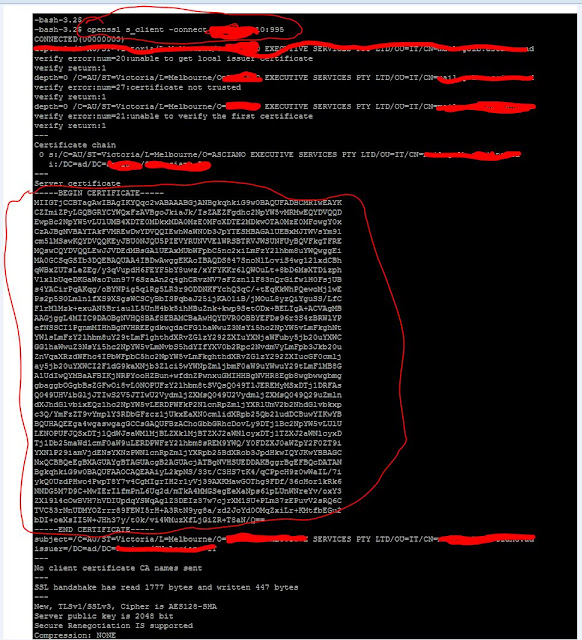
Use the openssl utility to get the certificate from mail server.
openssl s_client -connect host:port
Step3:
Step4:
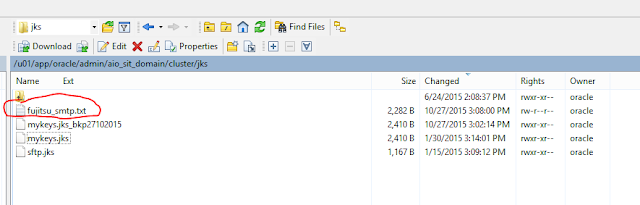
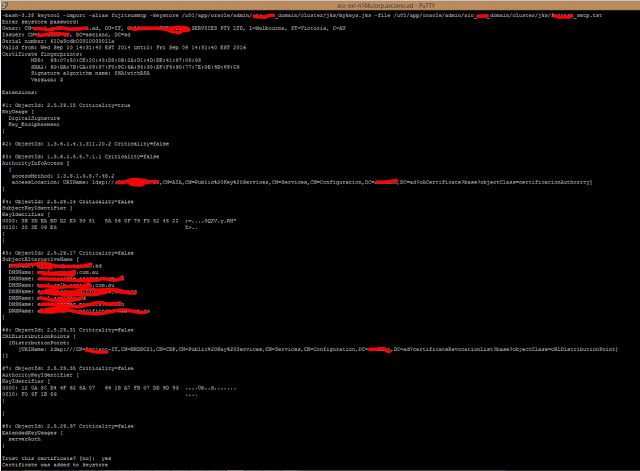
Run this command to import the keys –
keytool -import -alias fujitsusmtp -keystore /u01/app/oracle/admin/aio_sit_domain/cluster/jks/mykeys.jks -file /u01/app/oracle/admin/aio_sit_domain/cluster/jks/fujitsu_smtp.txt
Step5:
Select particular WLS server from which email pooling request is supposed to get initiated e.g. WLS_OSB1, go to “keystore” tab page and provide the details of existing jks file under “turst” as below-
Keystores: changed value to “Custom Identity and Custom Trust” from default value
Custom Trust KeyStore: Specify the path of the JKS file which contains certificate Custom Trust
Keystore Type: set “JKS”
Custom Trust Keystore Passphrase: enter password which set while creating jks
Confirm Custom Trust Keystore Passphrase: repeat the password

Step6:
Add below parameter into setDomainEnv.sh file for WLS_OSB1 server to prioritize keystore location path and provide keystore credentials.
-Dssl.debug=true -Djavax.net.ssl.trustStore=CertificateLocation-Djavax.net.ssl.trustStorePassword=CertificatePassword
Step7:
Restart Admin Server and that particular WLs server for which keystore details has been added.
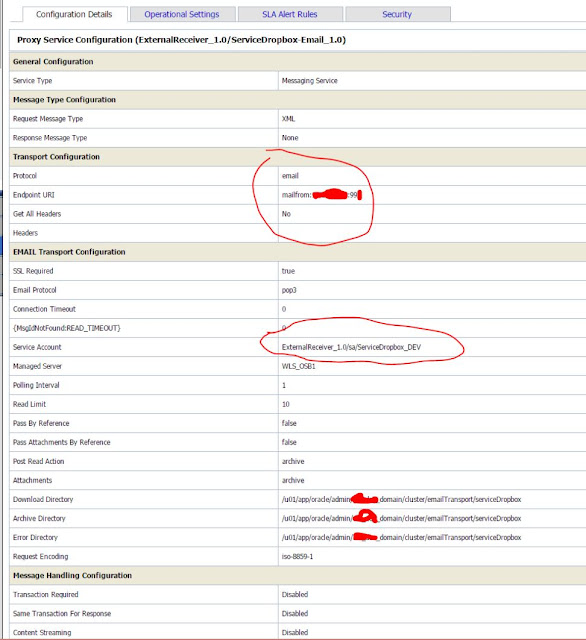
Note: In osb we just need to create one proxy service, specify mail server details, create service accounts to keep credentials, this will pools message from this email server using provided credentials.
/div>
Also don’t confuse with “Service Key Provider” in OSB for one way SSL communication, its mostly been used for 2 way SSL communication where we need to generate keys in pair (public and private) and keep them inside jks file. For one way SSL communication we do need “Service Key Provider” configuration.
Reference:
Some of the docs which help me to fix this problem -
https://docs.oracle.com/middleware/1212/wls/SECMG/identity_trust.htm#SECMG365
https://docs.oracle.com/cd/E23943_01/admin.1111/e15867/service_key_providers.htm#OSBAG983
http://theheat.dk/blog/?p=2059
In this scenario, we will be adding a certificate into weblogic trust
for one of the mail server from where OSB proxy service expected to
polls mails.
Weblogic trust keystore is the store where weblogic keeps the
certificates for those systems which are trusted systems for weblogic.
This certificate would be used while making ssl communication to those
servers, its one way ssl communication.
Below are the important steps to achieve desired result -
Step1:
Before adding any keys to existing jks file, we must need to back-up the existing jks file

Step2:
Use the openssl utility to get the certificate from mail server.
openssl s_client -connect host:port

Step3:
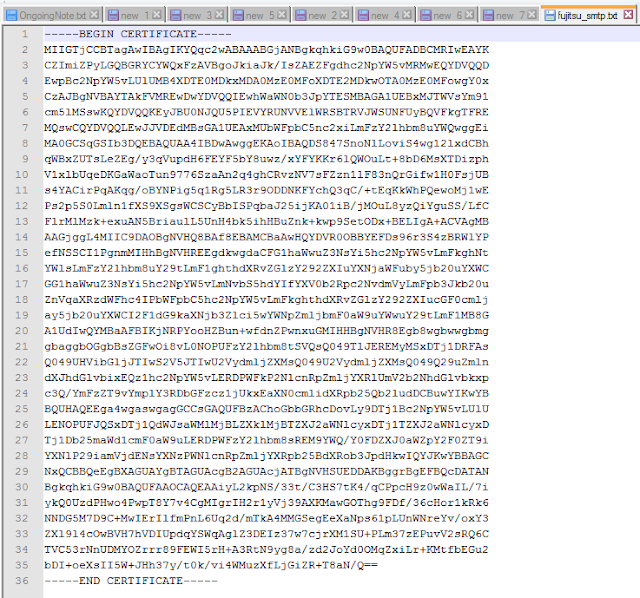
Create a new file and paste the content between BEGIN CERTIFICATE &
END CERTIFICATE into that file and moved that file to your desired
location at server where other jks files are stored


Step4:
Run this command to import the keys –
keytool -import -alias fujitsusmtp -keystore /u01/app/oracle/admin/aio_sit_domain/cluster/jks/mykeys.jks -file /u01/app/oracle/admin/aio_sit_domain/cluster/jks/fujitsu_smtp.txt

Step5:
Select particular WLS server from which email pooling request is supposed to get initiated e.g. WLS_OSB1, go to “keystore” tab page and provide the details of existing jks file under “turst” as below-
Keystores: changed value to “Custom Identity and Custom Trust” from default value
Custom Trust KeyStore: Specify the path of the JKS file which contains certificate Custom Trust
Keystore Type: set “JKS”
Custom Trust Keystore Passphrase: enter password which set while creating jks
Confirm Custom Trust Keystore Passphrase: repeat the password

Step6:
Add below parameter into setDomainEnv.sh file for WLS_OSB1 server to prioritize keystore location path and provide keystore credentials.
-Dssl.debug=true -Djavax.net.ssl.trustStore=CertificateLocation-Djavax.net.ssl.trustStorePassword=CertificatePassword
Step7:
Restart Admin Server and that particular WLs server for which keystore details has been added.
Note: In osb we just need to create one proxy service, specify mail server details, create service accounts to keep credentials, this will pools message from this email server using provided credentials.
/div>

Also don’t confuse with “Service Key Provider” in OSB for one way SSL communication, its mostly been used for 2 way SSL communication where we need to generate keys in pair (public and private) and keep them inside jks file. For one way SSL communication we do need “Service Key Provider” configuration.
Reference:
Some of the docs which help me to fix this problem -
https://docs.oracle.com/middleware/1212/wls/SECMG/identity_trust.htm#SECMG365
https://docs.oracle.com/cd/E23943_01/admin.1111/e15867/service_key_providers.htm#OSBAG983
http://theheat.dk/blog/?p=2059